| Here is yet another tutorial that will show you how to
make a stationery with an image which appears to be sobbing, that is, a
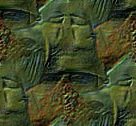
teardrop will fall from it's eye. For this lesson I will use the
image below. Right click on the picture and choose 'Save Picture
As' to use this graphic. No zip file is available at this time for
download.
It must be stated however, that just to use the ssc file won't help you
learn how to do your own. Click here
to see the finished product.

Now open up your Scrippy program and insert a positioned
container. Under this insert a background. Which one? Well
you can make your own or you can use the one I made for this stationery.
Right click to save it to your hard drive, 'Save Picture As'. This
background will tile as desired without lines showing. Make no changes after
you insert your background graphic, it does not scroll and you don't have to
change any of the other settings.
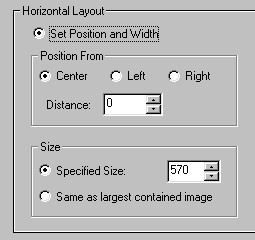
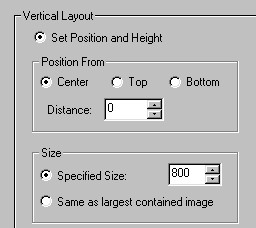
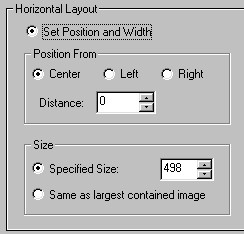
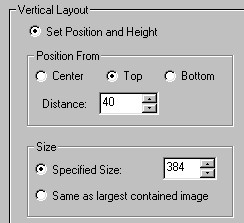
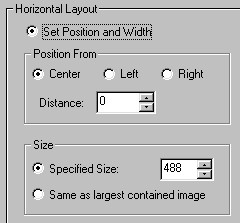
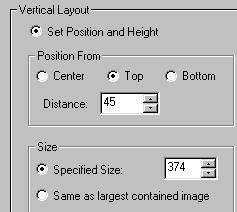
Use the settings below as shown for your positioned container.
I cut it apart so it could be placed side by side to make viewing easier, this
is NOT how it looks in Scrippy.
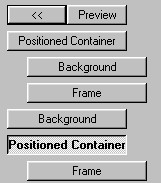
Next, click on the positioned container and insert a frame of
10 pixels using the Groove style and choose a dark green color or any other
color of your choice which will compliment the image. The color numbers
that I used are Red 0- Green 64- Blue0.
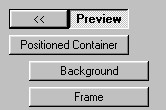
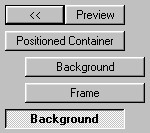
Here is what you should have at this point.
Now insert a background and make sure that it is not UNDER the
positioned container. Here is the one that I used. Right click on
the image and 'Save Picture As' to use this one.
If you are not sure what I meant when I said don't put it
UNDER the positioned container, here is an image to help you see where it
goes. If it went under your positioned container when you inserted it,
then grab it with your mouse and just move it over to the left and left
go. It should move over to the left.
Insert another positioned container and use the settings as
shown below. Again, the two images have been cut apart for easier
viewing here.
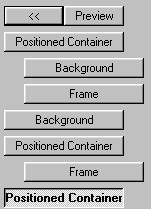
Now we will insert another frame, style Groove, pixel width of
5 and use the following numbers for your colors. Red-0 - Green-108 -
Blue-0. This frame goes UNDER the positioned container as shown below.
Insert another positioned container and use the settings as
shown below.
Here is what you should have at this point.
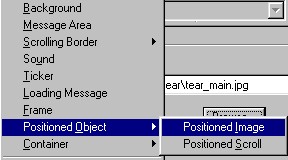
Now under our positioned container we will insert a positioned
image. Click on the Positioned Container to make sure that the
positioned image goes into the right place. If it doesn't, you can
always drag it there.
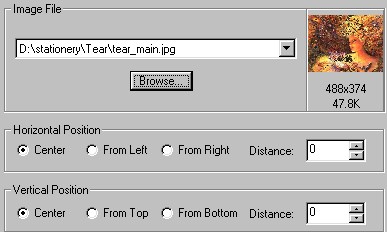
Browse for your tear_main.jpg and choose it for the image
here. Make no changes other than inserting it as shown below.
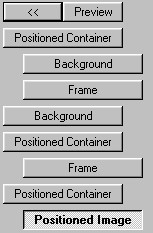
And now here again is where we are at.

|
Main Index
 |
Tutorials
Index
|
This
website and all content may be freely copied, reproduced or shared without
prior permission from the webmaster. All tutorial graphics represented
here are originals and all tutorials are provided by the webmaster.
Created by Ozmee, May 2001
|