Page Two of Teardrops
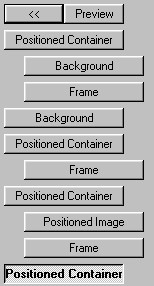
Underneath the same positioned container where we put the
positioned image, insert another frame, Groove style, pixel size of 10 and
color settings of Red 0 Green 64 and Blue 0. To make sure that the frame
goes under this container, click on the positioned container and then click on
Insert - Frame.
Next we are going to insert another positioned
container. Be sure to pay attention to these settings below as we are
going to set the left and right edges of one and not the other.
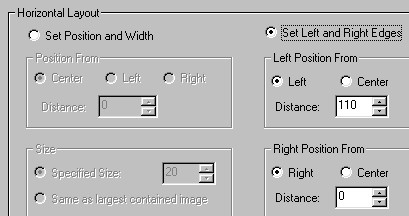
Notice that we are using the option to set our left and right edges? This is so that we can place the tear where it needs to go.
If you are
going to use this technique for a different image than the one used here, you
will need to try different settings in order to place your tear in the right
spot. Trial and error is how I did this one and you will often find that
T&E is the only way to get Scrippy to do what you'd like it to do.
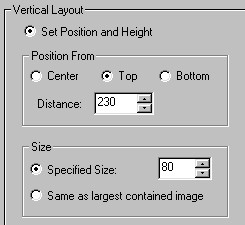
The same principle applies to the vertical layout. These
numbers were devised from trial and error. If you are a mathematician
however, you may have an easier time determining the numbers to be used in
order to get your tear to show up exactly where you'd like it to.
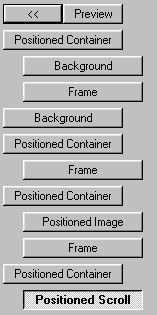
We are almost done with our tear script! Now we will add
in the teardrop itself. Right click and 'Save Picture As' to use this
one.

Click on the Positioned Container that we just added and go to
Insert - Insert positioned scroll.
Use these settings as shown. They have all been chopped
up to make viewing easier for this web page.
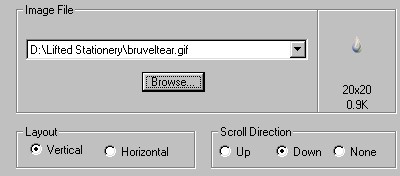
No changes necessary here other than to make sure it is vertical and the
scroll direction is down.
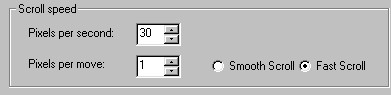
Pixels per second are set at 30. Raising this number makes the tear fall
faster and lowering it makes the tear fall slower. It is purely a matter
of choice. I also chose fast scroll although you can try doing it
without that selection and see if you like it better. This is however,
how it worked best for me. I do not change the pixels per move as it
makes the tear movement look 'jerky'.
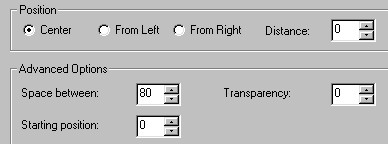
For this segment, I chose to make the tear appear every 80 pixels. The
tear itself is 20x20. When you go to work on this section look at the
size of your tear (or other object) and try multiples of that size.
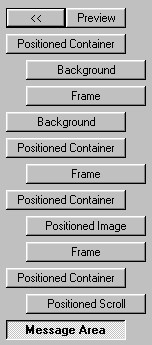
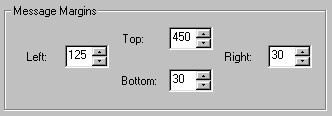
Now we will add the message area. Go to Insert - Message
Area and use the settings as shown below. Take note that our message
area is NOT under any of the positioned containers.
At this point your tear should be falling from the eye of our
image. If it is not then you need to go back and check all of your
settings against those shown here. I have made every effort to show you
step by step where to put everything and this was done from a stationery which
I created and have already used.


|
Main Index
 |
Tutorials
Index
|
This
website and all content may be freely copied, reproduced or shared without
prior permission from the webmaster. All tutorial graphics represented
here are originals and all tutorials are provided by the webmaster.
Created by Ozmee, May 2001
|