|

We will begin with the background, left border graphic and the message area. Also,
you may click here to view the
finished product.

Adding A Background
First thing that happens when you open Scrippy is... nothing! Choose file-new
 or use this graphic, clicking on the white paper will open up a new
blank page. Now let's add a background.
or use this graphic, clicking on the white paper will open up a new
blank page. Now let's add a background.
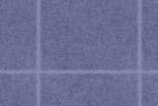
You can use the small preview to see how your
background looks and to make sure that it will tile without any
noticeable connections. This gives your background a one-piece
look. If connections are noticeable it doesn't look too well.
Here are two examples to show you what I mean by that
statement. In the first box on the left the image is not tiling
and the one on the right shows a background that does tile. You
can see which one looks best for yourself. Unless you
intentionally desire to use a non-tiling image, this will not look well
for your stationery or web page background. A program exists
called 20/20 or 'Bylight' which can tile your background image.
Click here
to visit their website and download this program.
Adding An Image
Next thing you will want to do, in the event of a left
border scroll, is add a graphic! You can put any graphic here that
you choose but some images need a border for separation purposes.
The reason for this is to separate the two portions and make it look
nicer. Again I will give you two examples to explain this.
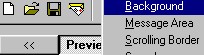
Go to Insert - Scrolling Border - Left Border Scroll
and click it.

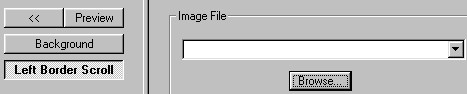
This is what you now have. Click on the browse
button and go and choose the graphic you'd like to use. Here is
the one that I chose.
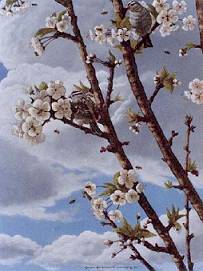
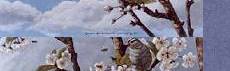
Here is what that graphic looks like unbordered in
a left border scroll.
This is the bordered one.
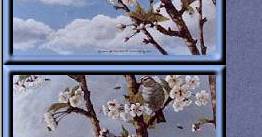
Now you can see what a difference
something as simple as a border can make. These borders are just
plain bevels but for our purpose here will suffice to make a
point. The borders separate your image to make it look much
better. Some images don't need a border and you can tell that by
trial and error. Use your small preview and your large preview at
all times to see how your stat looks as you are going along.
Adding a Message Area
Next you will want to add a message
area. Since you have chosen a two-piece background and by that I
mean the graphic is not part of your background, when you add a message
area it will automatically be placed 30 pixels from the top and 30
pixels from the left. These numbers can be changed depending on
your likes and dislikes.
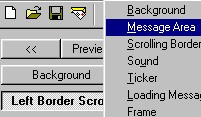
Go to Insert - Message Area 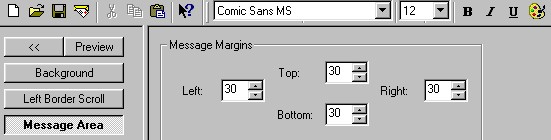
This is what you will see next, with all options as shown.
Now this is how your scrippy master will appear.
You see on the left all of the parts that we have added so far.
Shown here also are the message margins. You can change these at
will. I generally use 15-20 for mine as I like less wasted space
but it is just a matter of taste. At the top is shown the font
type. Change this to whatever font you like, however keep in mind
that only certain fonts can be viewed by everyone. If they do not
have the font you choose to use installed on their computer they won't
see that one, just their standard font, which usually is Arial I
believe. Change the size of the font also to taste. The
little palette allows you to change the color of your font. I
usually type in Text Here, darken that in and then make my changes, then
preview it to see if the text color is readable. One large mistake
I see a lot is that people use a font color or font type that is very
hard to read. If people get a headache trying to read your email
they usually give up and never see what it was that you wrote.
What a waste! Here's what I did with mine. 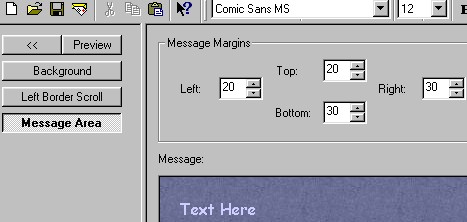

As you can see, the text shows up very nicely and is very
readable.
Next you might want to add some sound.
Next, Adding Sound and a Loading Message

|
Main Index

|
Tutorials Index
|
This website and all content may be freely copied, reproduced or shared without
prior permission from the webmaster. All graphics represented here are
originals (other than lesson pictures) and all tutorials are provided by the webmaster.
Created by Ozmee, May 2001
|