|


This is lesson
six. It will show you how to make a stationery using positioned containers and
positioned images. To see the final result, please click here.
To download a zip file with all of the images that you will see here as
well as the sound file included, please click here.
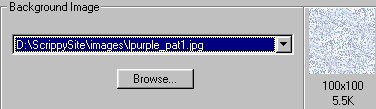
Open up
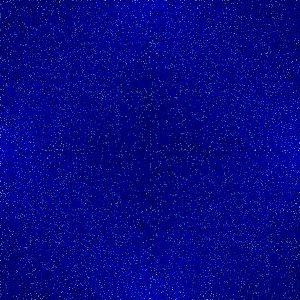
Scrippy and add a background. Browse for the background image
called lpurple_pat1.jpg and choose it.

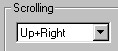
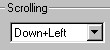
Make sure to set the
scrolling feature to up and right.
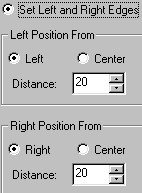
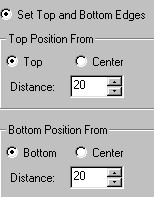
Next,
insert a positioned container and use the settings as shown below.
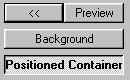
Here is
what you should have at this point.
Under this
container we are going to add three more articles, a background, a frame
and another positioned container.
Click on your
positioned container and go to insert - background. Now browse to find the
background called dblue.jpg and choose it.
Change the background to
scroll down and to the left. Click
on the positioned container again and Insert - Frame. Use the color as
shown. The numbers for it are Red 191 Green 191 and Blue 255. You
can always choose another color if you don't like this one. Make this a double
frame of 10 pixels and choose 'place over background'.
Next, we are going
to add another positioned container and we are going to use the same exact
settings as before, image as shown below.
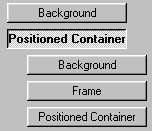
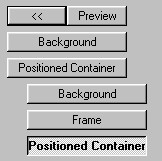
Here is what you
should now have. Make sure that the background, frame and positioned
container fall under the first positioned container as this is important.
Failure to have your settings as shown will result in the images and backgrounds
not showing up properly.
Click
on the second positioned container and go to Insert - Background. Choose
the lpurple_pat1.jpg again but this time we do not want the background to
scroll.
Now insert another
frame, first making sure to click on the second positioned container so that it
gets put into the right place. Use the exact same settings and color as
before, double style, pixel width of 5. Colors are Red 191 Green 191 and Blue
255.
Making sure that
the second positioned container is still chosen, go to Insert and Choose
Positioned Object - Positioned Image.
Click on the Browse
button and go to find the image as shown called pflowerright.gif and select it.
Make this 5 from the left and 5 from the top even though it
doesn't show that in this image below.

Insert another
positioned image and browse for the image named pflowerleft.gif and select
it. The second image's settings will be as shown. Change the
settings to 5 and 5 as before.

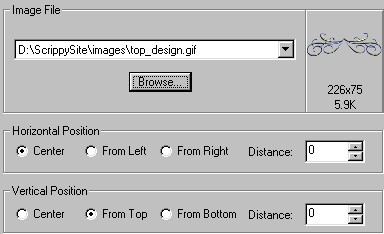
Making sure that
the second positioned container is still selected, go back to Insert -
Positioned Object and choose Positioned Image Again. Now select the image
as shown which is called top_design.gif. Use the settings as shown.
Notice it is centered and from the top. This places our image at the top
of the positioned container and yet centers it. **Change this to make
the image be 5 pixels from 'the top'.
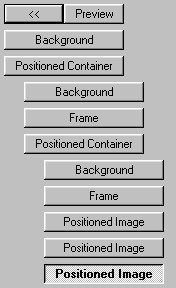
This is how your
master scrippy should now look.
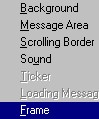
Adding a Message
Area, Ticker, Sound and Loading Message We
will insert a message area next. Although it may seem as though you could
place this message area inside of your positioned container, it will not show up
as you expect. So, for that reason, make sure that your positioned container is
not chosen. If this proves difficult, simply click on the very first
background shown and then go to Insert - Message Area. If it gets placed
in the wrong spot you can click on it and move it to the left where it needs to
be. Here is what the final master scrippy will look like for the next
three areas. 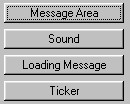
Set
the left and right margin to 120. Set the top margin to 200 and the bottom
margin to 40. This will be an expanding message area. Click on Insert - Ticker and change
the settings to whatever you prefer and change the message to say something to
personalize your stationery. As before, I use the settings as shown. 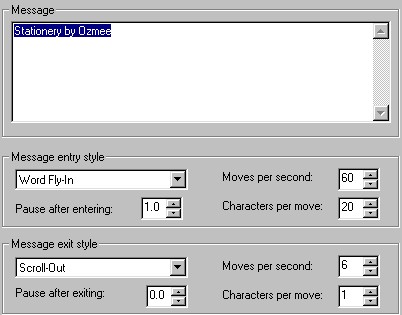
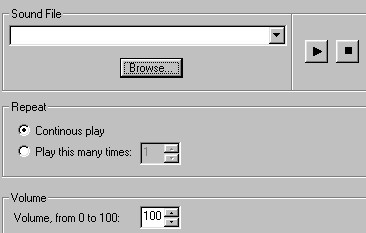
Now
click on Insert - Sound and scroll to your music directory to choose a nice
sound to go with your new stationery.
The last item is to
include a loading message. You may have noticed that even if you do not
include this in your ssc file, Scrippy does include one for you. It is
much better to have one set up the way you want it rather than having a plain
white background with a Scrippy set message there of 'Loading". Go to
Insert - Loading Message. Now you can make this more personalized.
Use a color of background that matches what you have made. I used the
colors that we chose for the frame, Red 191 Green 191 and Blue 255. Now
you can include an animation or other graphic under your message. Change
the message to say whatever you'd like. Some people put something like
'Here it comes' or 'Hold your horses' but you can put anything you'd like.
Try to keep your viewing time to no more than 1.5 unless your animation needs a
higher number. If you want to put a graphical background in your loading message
and do not know how, please refer to the Scrippy Tips. Save
your stationery in the desired manner. Please see left border scroll if
you need help deciding how to save it, the second page has the instructions on
how to save and what choices you have. Hope
your stationery turned out really nice! Of course, these graphics are
simply for this lesson and you can use any graphics you'd like. If you'd
like to use these, then that is always permissible as I allow all of my graphics
to be freely used at any time.
|
Main Index

|
Tutorials Index

|
This website and all content may be freely copied, reproduced or shared without
prior permission from the webmaster. All graphics represented here are
originals (other than lesson pictures) and all tutorials are provided by the webmaster.
Created by Ozmee, May 2001
©Ozmee 2001, 2002
|
