|
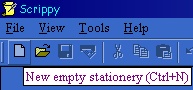
***Note: This is a very simple stationery intended for very new people who have never used Scrippy or those who just need some extra experience. For that reason, it is rather plain as I wanted to keep it as simple as possible. The backgrounds do not scroll in this one. Extra images have been included to assist in the use of scrippy. If you don't have the scrippy program click here to go and get it! Preview the end result here. Download the zip file which has the two backgrounds, one main image, the sound file AND ssc included here. Be sure to save your ssc file often in case of program error or some other computer error. First thing to do is go to File/Save as and give this stationery a name. When you export your finished stationery, be sure to use that same name so that you won't forget which ssc file goes with what stationery. This will really help you later on! 1. Open up your Scrippy program. 2. Click either on File/New or the white paper icon as shown below. You also can click on control-N to open up a new scrippy master stat. By master scrippy, I mean your empty stationery.
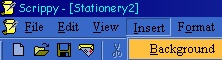
3. Click on Insert and select background.
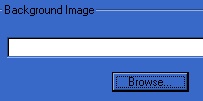
4. Click on browse and go to the directory where you unzipped all the elements that we need for this lesson. Let's use the graphic called bl-bg2.jpg.
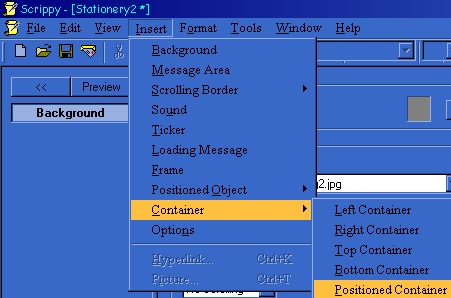
5. Now click again on insert and this time choose a positioned container.
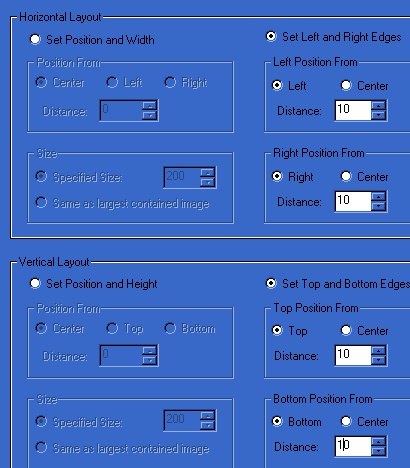
6. Set all of the margins to 10. When I say 'set the margins' I want you to click on the right side and click the little round spot so both top and bottom are selected. Then type in 10 for each margin.
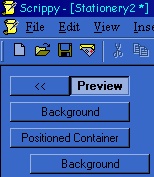
7. Next we are going to insert a background. Click on Insert and choose background, just like we did before. This time, browse for the graphic in your directory which is called bl-bg1.jpg. 8. So far, this is what you should have showing up on your own master scrippy. Please check this image against what you have. If yours does not look like this one, please change yours to be exact.
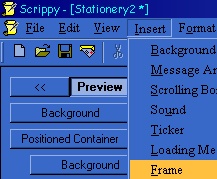
9. Next we are going to insert a frame.
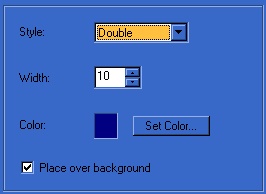
10. This needs to be a double frame, size of 10 and place over background needs to be checked. Copy and paste the color code #000080 into where it says 'Set Color'. Click on add to custom colors in case we need to use it again.
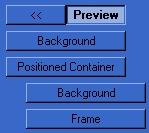
11. This frame goes under where your background is. Here is a picture.
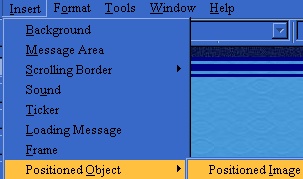
12. Ok. Does your scrippy look like this? If it does you are good to go now. Let's put in another frame same as we did before and we will use the same color. It is a double frame, size 10 and place over background is checked. Now that you have your second frame installed, do a preview and see what you have. 13. Now then, we are going to insert our main image. So click on Insert and select 'positioned object' and then 'positioned image'.
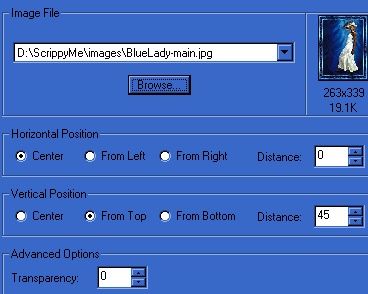
15. Click on positioned image to open it up over on the right and browse to find the main image. It is called BlueLady-main.jpg. Set this 'from the top' and for distance put 45. That means it will be 45 pixels from the very top of the screen.
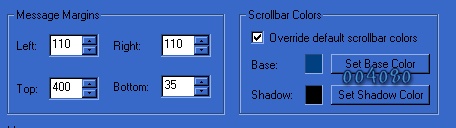
16. Next we need to put in a message area! Click on insert/message area and use the following settings as shown. Use #004080 as the color for your scrollbars by clicking on 'Set Base Color'. When the box opens, paste in that color code and then click on ok. You do not need to change the other setting.
Preview your stationery. Does it look ok? Is the picture down below the frames with some room between it and the upper frame? Ok, if so you are almost done. 17. Click on Insert/Sound. Click on browse to find a nice music file. Or use the one I put in the zip file. It's called bluemoon.mid. Set this to play continuously. 18. If you would like to use a ticker, go ahead and add one of those. Insert/ticker and type something in there. Sometimes I put made by Ozmee or the date I made the stat, but in my defaults I put a certain thing I wanted them all to say. You can set your default so that your ticker always says the same thing if you would like. Go to Tools/Default Object settings and when that comes up you will see things that you can change, so that when you first open a new scrippy, it will be that way. Change the scrollbar standard color, add in some text to your ticker, and save the default settings. 19. Lastly, it's your choice whether or not to add a loading message. If you do not want one, then click on Insert/loading message and when it is inserted then uncheck 'use loading message'. Now you won't have one! If you do want one, leave it checked. You can erase the text that is there and insert a graphic, you can change the background color too. If you want to do a loading message graphic, you can find how to do that on the Scrippy tips page. But as this tutorial was written for really new people, I suggest you hold off on doing that. It can be a little confusing for someone new to doing stationery. Ok! Now all you need to do is save your file. Go to File/Save as and give your stationery a name. This saves your ssc file. That means you can reuse this and just change the graphics any time you want. An ssc file is like a template. To be able to use this stationery, choose File/Export stationery and browse to your stationery directory on the c drive. Give it the same name you used for your ssc file. That way you won't forget which ssc goes with which stationery, in case you should decide to change something. ©Copyright Ozmee 2002 |